
I had the ‘luxury’ of moving my vinyl collection when we sold our house last month. The process of moving your vinyl can seem quite daunting but if you do it in stages and do it properly it is actually quite easy and somewhat rewarding.
What you will need
- Boxes
- Bubble Wrap
- Tape Gun/Sticky Tape
- Newspaper
- Permanent marker
Find suitable boxes
This is a really important step and one that I found initially difficult to source. Most moving boxes on offer are either too small or too large. The boxes I ended up using were 16″ x 13″ x 13″ (L 41cm x W 33cm x H 33cm). This allows for a little room either side but can fit a nice amount of records. Boxes that are too big can end up being heavy and too high will have too much wasted space at the top.
Prepare your records
It is important to look after your vinyl records even when they are just sitting on a shelf at home. If you haven’t already, remove your records from their sleeves! I started doing this mostly for my valuable records but eventually you want to do this for all your records, especially in preparation for the move. Records that remain in their sleeves can shift around during the move and will end up splitting the seams of the jacket (not to mention ring wear that can occur).
Here are some basic tips for looking after your records:
- Remove the vinyl from the jacket and use a protective sleeve just for the jacket cover. I use a 12″ regular sealable Blake record outer sleeve in crystal clear plastic


- Place vinyl record in a plastic inner sleeve, then place the protected record in a cardboard sleeve. I use the 40 Micron round button inner sleeve – premium frosted plastic and a heavy duty cardboard sleeve


- Using a 12″ large Blake record outer sleeve, place your record (in cardboard) BEHIND the sealed vinyl jacket cover.


Now your good to go! The record look like new and you can have peace of mind there will be no damage to the record or cover while moving
Package your vinyl
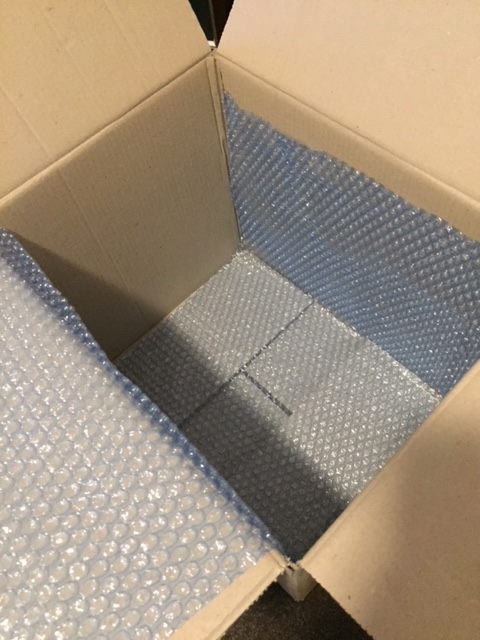
- Firstly line the box with bubble wrap! The below image is just a single lining but I ended up padding it out a little more with another layer than a single strip inside the bottom of the box (for extra protection)
- Place your vinyl in the box. You want to make sure they don’t move around too much but be careful not to pack them in too tightly!
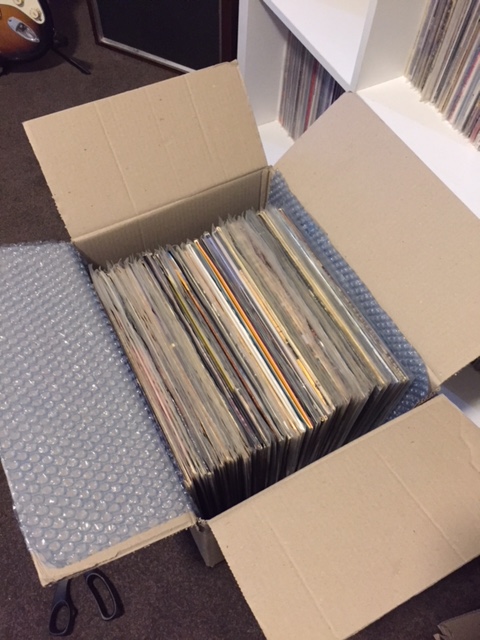
- Next, pad the gaps either side of the vinyl. You can use newspaper as this adds good protection and isn’t wasting any more bubble wrap. Again ensure this is packed in well but not so tight that it damages your vinyl
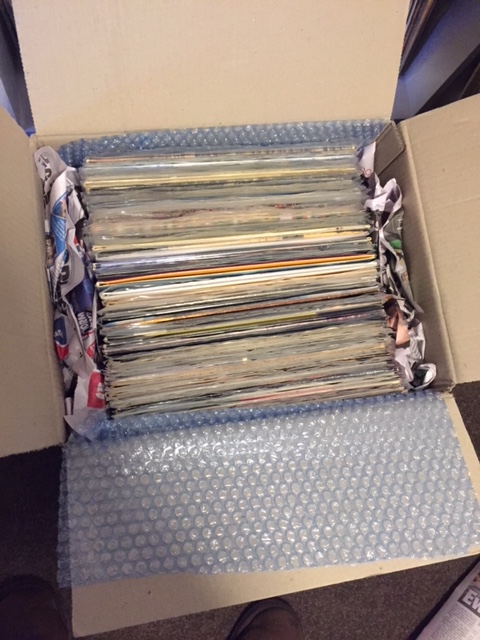
- Place more bubble wrap over the top of the vinyl, then tape up the box
- Make sure you label the box (ie Box 1 of 10 or Records A-C)
Moving your vinyl
Where possible, try to avoid your vinyl boxes moving with the removalists. I made sure I placed mine in the car (over a few trips) just in case! If you do end up placing them in the truck, mark them as fragile and ask the removalists to place them in the truck last so they don’t get dumped under heavier items.

Leave a comment